As you envision a warm and inviting outdoor space, a fire bowl for your patio likely tops your wish list. You're probably wondering where to start and how to bring this cozy feature to life. The good news is that, with the right guidance, you can create a stunning fire bowl that becomes the focal point of your outdoor gatherings. But before you can enjoy those crisp autumn nights or chilly winter mornings by the fire, you'll need to navigate the process of selecting materials, preparing your site, and building the fire bowl itself.
Choose the Right Materials

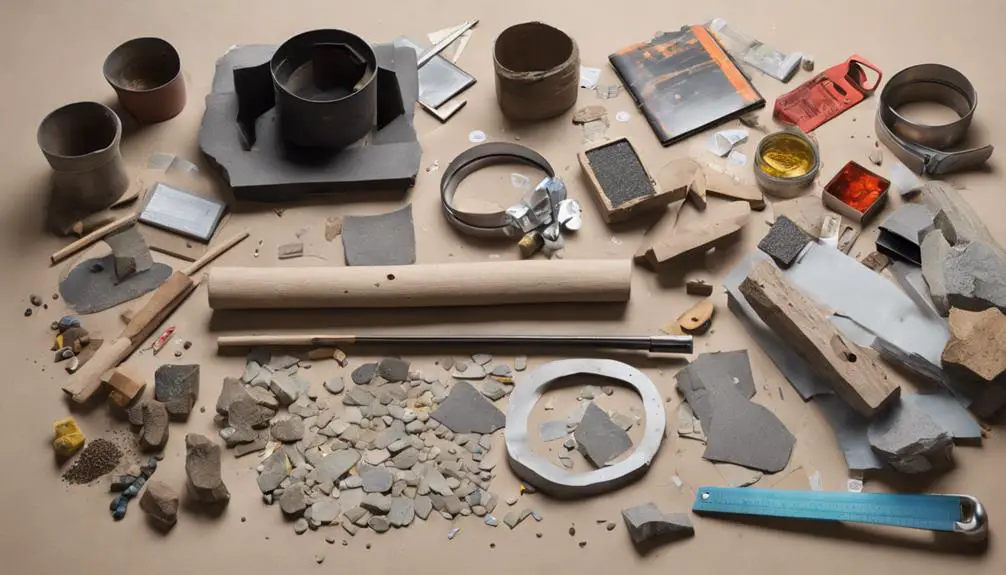
Selecting the right materials is crucial to creating a fire bowl that's both functional and aesthetically pleasing.
You'll want to choose fireproof materials that can withstand high temperatures and maintain their structure. Look for materials with high heat resistance, such as refractory ceramic, firebrick, or heat-treated steel.
These materials have undergone heat resistance tests to certify they can handle the intense heat generated by a fire.
When selecting a material, consider its thermal conductivity, melting point, and strength.
You'll also want to think about the material's appearance, as it will be a focal point in your outdoor space. Some materials, like ceramic, come in a variety of colors and textures, allowing you to customize the look of your fire bowl.
Remember to check the material's certification and compliance with local building codes.
You don't want to risk having a fire bowl that's unsafe or non-compliant. By choosing the right materials, you'll create a fire bowl that's both beautiful and safe for years to come.
Prepare the Patio Site
You'll need to start by clearing the patio site of any debris, obstructions, or tripping hazards.
Measure the patio area carefully to determine the ideal location for your fire bowl, taking note of any nearby flammable structures or overhanging branches.
With a clean and measured site, you'll be ready to prepare the space for your fire bowl installation.
Site Cleaning Essentials
Preparing the patio site is crucial to guarantee a safe and successful fire bowl installation.
You'll want to certify the area is clear of any obstacles that could hinder the process or compromise the final product. Start by removing any debris, such as leaves, twigs, or rocks, from the patio surface. This will give you a clean slate to work with and prevent any damage to your materials or tools.
Next, inspect the site for any low-lying areas or uneven surfaces. You may need to level the ground or fill in gaps to create a stable foundation for your fire bowl.
Take note of any existing features, such as electrical outlets or gas lines, that may affect the placement or installation of your fire bowl.
Once the site is clear and level, you can begin marking out the area where your fire bowl will sit. Use a string and stakes to define the boundaries, taking care to certify the space is large enough to accommodate the fire bowl and any surrounding features, such as seating or decorative elements.
Patio Measurement Tips
Measure your patio space carefully to guarantee a precise fit for your fire bowl.
Take into account the patio dimensions, including the length, width, and any obstructions, such as pillars or planters. Consider the space constraints, like narrow walkways or tight corners, that may affect the placement of your fire bowl.
To verify accurate measurements, use a tape measure or a digital measuring tool to capture the exact dimensions of your patio. Record the measurements in a notebook or on a sketch of your patio layout.
Identify the center point of your patio, as this will be the focal point for your fire bowl.
Visualize the fire bowl in your patio space, taking into account the seating area, walkways, and any other features.
Consider the scale of the fire bowl in relation to the patio dimensions. By carefully measuring your patio space, you'll be able to design a fire bowl that perfectly complements your outdoor area, creating a harmonious and inviting ambiance.
Build the Fire Bowl Base

Behind the fire bowl's sleek design lies a sturdy base, which you're about to create.
This base is the foundation of your fire pit design, providing stability and support for the entire structure.
To build the base, you'll need to prepare the site, lay the foundation, and construct the base frame.
Begin by marking a circle on the ground, using a string and stake to get the desired diameter.
Remove any grass or debris within the marked area, and level the ground to guarantee evenness.
Next, lay a layer of compacted gravel, followed by a layer of sand, to create a solid foundation.
Using your fire pit design plans, cut four pieces of metal framing to the required length.
Assemble the frame, welding the corners together to form a square or rectangle, depending on your design.
This base frame will provide the structure for your fire bowl, so make sure it's sturdy and level.
With the base constructed, you're ready to move on to the next step: creating the fire pit ring.
Create the Fire Pit Ring
You'll need to decide on the size of your fire pit ring, considering options that range from compact 24-inch diameters to larger 36-inch or 48-inch rings.
The ring's size will impact the overall aesthetic of your fire bowl, so choose a size that fits your design vision.
As you plan your fire pit design, think about the style and functionality you want to achieve, from modern and sleek to rustic and natural.
Ring Size Options
How wide do you want the flames to dance? The ring diameter of your fire pit will determine the size of the flames and the ambiance of your patio.
A larger ring diameter means a bigger fire, while a smaller one creates a more intimate setting.
When choosing a ring size, consider the space where your fire pit will sit.
A smaller ring diameter (around 24-30 inches) is ideal for compact patios or balconies, while a larger one (36-48 inches) is better suited for larger outdoor areas.
Keep in mind that a larger ring diameter also means more fuel consumption and higher heat output.
If you're looking for a cozy gathering spot, a smaller ring diameter might be the way to go.
Conversely, if you want to create a dramatic centerpiece for your patio, a larger ring diameter will deliver.
Ultimately, the ring diameter you choose will depend on your personal preference and the overall aesthetic you want to achieve with your fire pit.
Measure your space, consider your needs, and choose a ring size that fits your vision.
Fire Pit Design
With your ring size decided, it's time to create the fire pit ring itself.
You'll need to choose a fire pit style that complements your outdoor ambiance. Consider modern, sleek designs or rustic, natural looks. Think about the shape, material, and color that will blend seamlessly with your patio decor.
For a DIY fire bowl, you can use a metal ring or a concrete ring form.
Metal rings come in various thicknesses and can be customized to fit your design.
Concrete ring forms offer a more rustic, natural look and can be stained or painted to match your outdoor aesthetic.
When designing your fire pit ring, consider the ventilation system.
You'll need to guarantee proper airflow to maintain a safe and efficient flame.
Drill holes in the bottom of the ring for drainage and add a ventilation system, such as a chimney or vent pipe, to direct smoke away from your gathering area.
Remember to follow safety guidelines and building codes when creating your fire pit ring.
With a well-designed ring, you'll be one step closer to enjoying a cozy outdoor gathering spot.
Add Insulation and Drainage

Insulation and drainage form a crucial duo in your fire bowl's construction, as they certify efficient heat retention and prevent water accumulation.
To secure peak performance, you'll need to add these essential components.
Begin by lining the bowl's interior with fireproof blankets or heat shields.
These materials will reflect heat back into the pit, reducing heat loss and protecting the surrounding structure.
Make sure to cover the entire surface, leaving no gaps or exposed areas.
Next, create a drainage system to prevent water from collecting in the bowl.
You can achieve this by drilling holes in the bottom of the fire pit or adding a slight incline to the design.
This will allow water to flow out and prevent rust or corrosion.
Install the Burner System
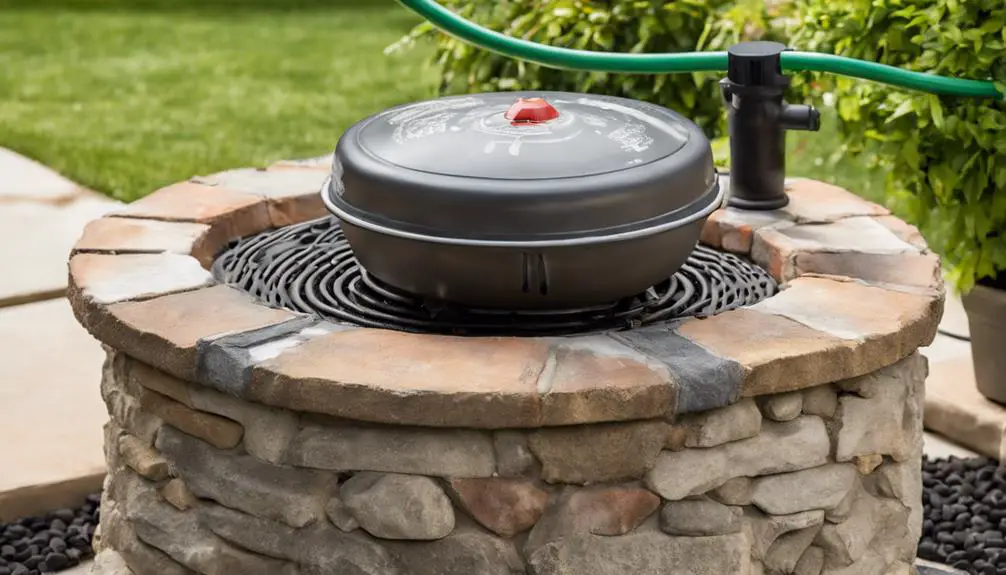
You'll need to carefully position the burner within your fire bowl, choosing from options like a central ring or a linear burner for a more modern look.
Next, connect the gas lines, verifying secure fittings and proper flow rates.
Burner Placement Options
Precision is key when it comes to burner placement, as it directly affects the performance and safety of your fire bowl.
You'll want to ponder the fire pit placement carefully, taking into account the size and shape of your fire bowl, as well as the surrounding patio area.
A central burner placement is often the most aesthetically pleasing, but you may need to adjust this depending on the size and shape of your fire bowl.
When deciding on the burner placement, think about the flame pattern you want to achieve.
Do you want a tall, vertical flame or a more horizontal, sprawling flame? This will help you determine the ideal burner placement.
Additionally, ponder the decorative screens you'll be using to contain the flames.
You'll want to verify the burner is positioned to maximize the visual impact of the screens.
Remember to leave enough clearance around the burner to allow for proper airflow and heat dissipation.
A well-placed burner will guarantee a safe and efficient fire bowl that provides ambiance and warmth to your outdoor space.
Connecting Gas Lines
Gas lines must be connected to the burner system with care, verifying a safe and leak-free installation.
You'll need to calculate the correct pipe size for your fire bowl using pipe sizing calculations to guarantee proper gas flow. This calculation takes into account the BTU output of your burner, the distance from the gas source, and the pressure of the gas supply.
Next, connect the gas line to the burner, making sure to secure it with the appropriate fittings and connections.
Use gas-rated pipe dope or thread sealant to confirm a leak-free seal. Perform a visual inspection to verify all connections are secure and not damaged.
To confirm your installation is safe, you'll need to perform a gas leak detection test.
Apply a gas leak detection solution to all connections and watch for bubbles, which indicate a leak. If you detect a leak, tighten the connection and retest.
Once you've confirmed a leak-free installation, you're ready to move on to the next step.
Igniter System Setup
With the gas lines securely connected, your focus shifts to the igniter system setup, a critical component of your fire bowl's burner system.
This system is responsible for igniting the flame, and you'll need to guarantee it's properly installed and configured.
Begin by mounting the electronic spark generator to the burner system.
This device produces a high-voltage spark that ignites the gas, creating a reliable and automatic flame.
Connect the spark generator to the igniter electrode, making sure it's securely fastened.
Next, attach the igniter electrode to the burner cap, positioning it to achieve peak flame ignition.
Once the igniter system is in place, connect the burner system to the gas lines.
Make sure all connections are secure and leak-free.
With the igniter system setup complete, you're ready to test the flame.
Turn on the gas supply and activate the electronic spark generator.
The flame should ignite automatically, providing a warm and inviting ambiance to your patio.
Connect the Gas Supply

Safety becomes paramount as you begin connecting the gas supply, a pivotal step in bringing your fire bowl to life.
Verify you've turned off the main gas valve before starting, as gas safety is essential. Locate the gas shut-off valve near the fire bowl and turn it clockwise to shut off the supply.
Next, attach the gas hose to the shut-off valve, making sure it's securely connected.
Use a wrench to tighten the fittings, but avoid over-tightening, which can damage the threads. Check the line pressure to confirm it's within the recommended range for your fire bowl. Typically, this is between 3.5 and 7 inches of water column (in. WC).
Connect the other end of the gas hose to the fire bowl's gas inlet, following the manufacturer's instructions.
Make sure all connections are secure and there are no signs of leaks. Use a gas leak detector or soap solution to test for leaks.
Once you've completed these steps, you can proceed to the next phase of your fire bowl project.
Add Decorative Stone or Gravel
Adding the finishing touches to your fire bowl's appearance, you're now ready to incorporate decorative stone or gravel.
This step is vital in enhancing the visual appeal of your fire bowl, making it a stunning centerpiece for your patio.
Select a type of decorative stone or gravel that complements your outdoor decor.
Consider the color, texture, and size of the material to confirm it harmonizes with your patio's aesthetic. You can choose from a variety of gravel patterns, such as river rocks, pea gravel, or decomposed granite, to create a unique look.
Spread a layer of decorative stone or gravel around the fire bowl, leaving enough space for the burner pan and ignition system.
The recommended depth is about 1-2 inches, allowing for even distribution of heat and a visually appealing display. Use a level to confirm the surface is even, and rake the material gently to create a uniform pattern.
The decorative accents won't only enhance the fire bowl's appearance but also help with drainage and heat distribution.
Install the Fire Glass or Logs

You've created a visually appealing base with decorative stone or gravel, now it's time to bring the fire bowl to life with fire glass or logs.
This step is vital in achieving the desired Fire Pit Aesthetics, as it adds a touch of warmth and ambiance to your outdoor space.
When selecting fire glass, consider the color scheme and overall style of your patio.
Glass Selection is key, as different colors and shapes can alter the ambiance of your fire bowl. For a modern look, opt for clear or reflective glass, while a more rustic approach can be achieved with earth-toned glass.
Once you've chosen your fire glass or logs, carefully pour or arrange them into the fire bowl.
Make sure to follow the manufacturer's instructions for the recommended amount of material to use.
As you add the final touches, visualize the warm glow of the flames dancing across the glass or logs, creating a cozy and inviting atmosphere in your outdoor space.
Add Patio Seating and Decor
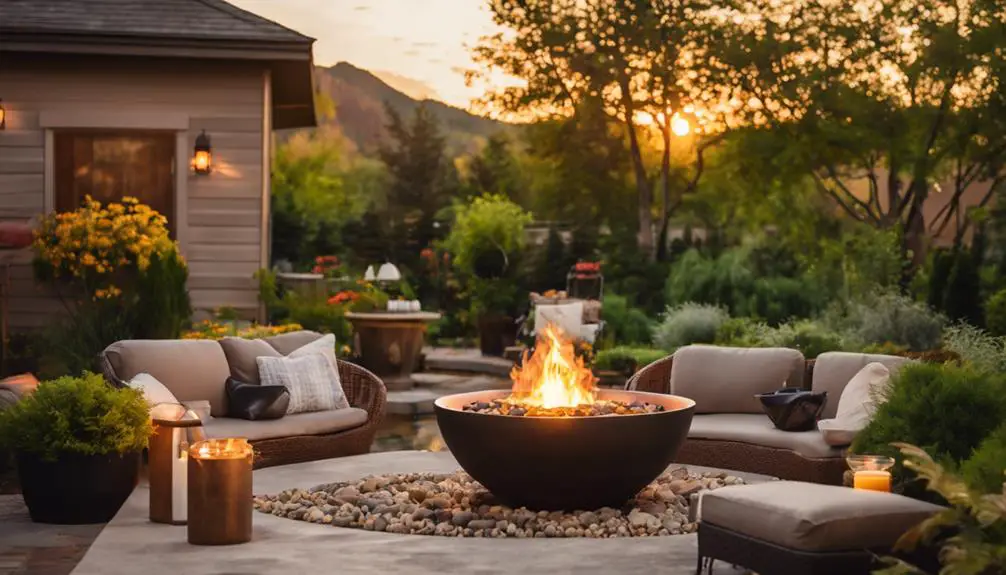
With the fire bowl now aglow, turn your attention to creating a welcoming ambiance by incorporating patio seating and decor that complements the warm, flickering flames.
Select patio furniture that's both stylish and durable, such as weather-resistant wicker or recycled polypropylene pieces.
Consider a sectional sofa or a conversation set with a fire pit table to create a cozy gathering spot. Add plush outdoor textiles like throw pillows, blankets, and ottomans in vibrant colors and patterns to enhance the ambiance.
To add visual interest, incorporate decorative elements like lanterns, planters, or sculptures that reflect the warmth of the fire bowl.
Hang string lights or fairy lights above the seating area to create a magical atmosphere. Alternatively, place candles or torches around the patio to amplify the warm glow of the fire bowl.
Test and Season the Fire Bowl

Your fire bowl installation is almost complete. Now it's time to test and season it to guarantee a safe and efficient burning experience.
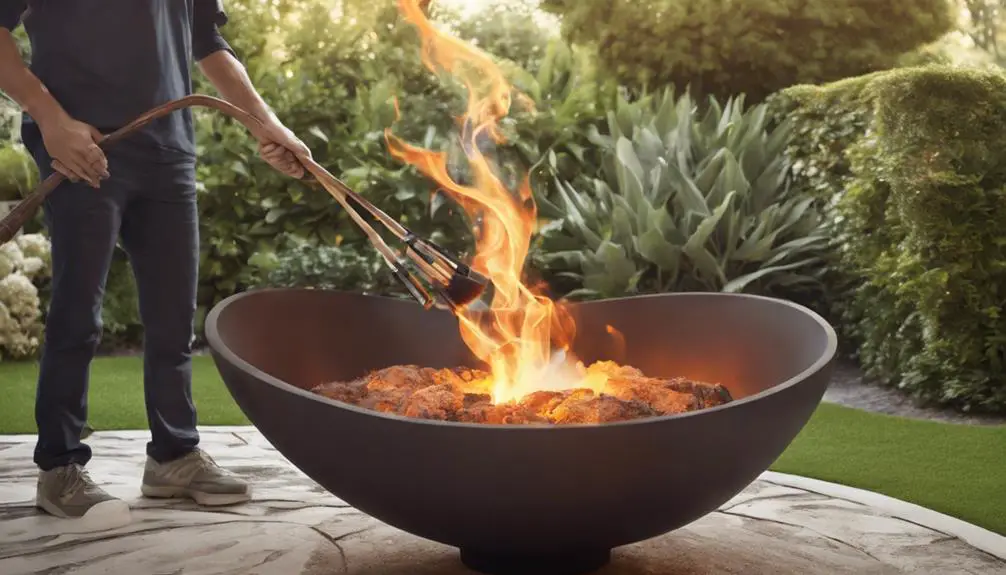
Start by conducting a series of fire testing strategies to identify any potential issues. Light a small fire in the bowl and observe how it burns, checking for proper airflow, flame height, and heat distribution.
Make any necessary adjustments to the burner or ventilation system.
Once you're satisfied with the fire's performance, it's time to season the fire bowl. Apply a thin layer of high-temperature resistant cooking oil to the metal surfaces using a clean cloth.
Then, light a small fire and let it burn for about an hour, allowing the oil to polymerize and create a protective barrier. This seasoning technique will help prevent rust and corrosion, guaranteeing your fire bowl remains in great condition for years to come.
Repeat the seasoning process 2-3 more times to achieve superior results.
Maintain Safety and Performance
Beyond the initial testing and seasoning phase, regular maintenance is crucial to guarantee your fire bowl continues to operate safely and efficiently.
You'll want to perform routine checks to certify peak performance and prevent potential hazards.
First, inspect the fire bowl for any signs of damage or wear.
Check for cracks, rust, or corrosion on the metal components, and replace them if necessary.
Certify the fire pit screen is securely in place to contain sparks and embers.
For Flame Maintenance, clean the burner regularly to prevent clogs and maintain a consistent flame.
Remove any debris, soot, or food residue that may have accumulated.
You can use a soft brush or cloth to wipe down the burner and surrounding areas.
When it comes to Fire Safety Tips, always keep a fire extinguisher nearby and certify a clear escape route.
Never leave the fire unattended, and keep children and pets at a safe distance.
Frequently Asked Questions
Can I Build a Fire Bowl on a Wooden Deck or Balcony?
You shouldn't build a fire bowl directly on a wooden deck or balcony, but you can with proper deck protection and fireproofing, using materials like heat shields, fireproof mats, or ceramic tiles to create a safe and stylish outdoor space.
How Do I Keep the Fire Bowl Clean and Free of Debris?
You'll master fire pit maintenance by implementing debris removal strategies; regularly scoop out ash and char, wipe down surfaces with a wire brush, and vacuum crevices to keep your fire bowl clean, safe, and functional.
Are Fire Bowls Safe for Children and Pets to Be Around?
When you're around open flames, you'll want to guarantee child supervision and consider pet barriers to prevent accidents. You're responsible for creating a safe zone, so keep a watchful eye and take proactive measures to protect your loved ones.
Can I Use Charcoal or Wood in My Fire Bowl Instead of Gas?
You can opt for charcoal or wood fuel options in your fire bowl, but consider the burn efficiency: charcoal provides consistent heat, while wood crackles and spits, requiring more maintenance and potentially affecting airflow.
Do I Need to Obtain a Permit to Install a Fire Bowl in My Yard?
You'll need to check local regulations and municipal codes before installing a fire bowl, as permits may be required to guarantee compliance with safety standards and zoning laws in your area.
Conclusion
You've successfully constructed a fire bowl for your patio, incorporating essential safety features and visually appealing elements. Now, ignite the flame and enjoy the ambiance it brings to your outdoor space. As you maintain your fire bowl, remember to clean it regularly, inspect the gas line and igniter system, and season the fire pit ring to guarantee peak performance and safety.
