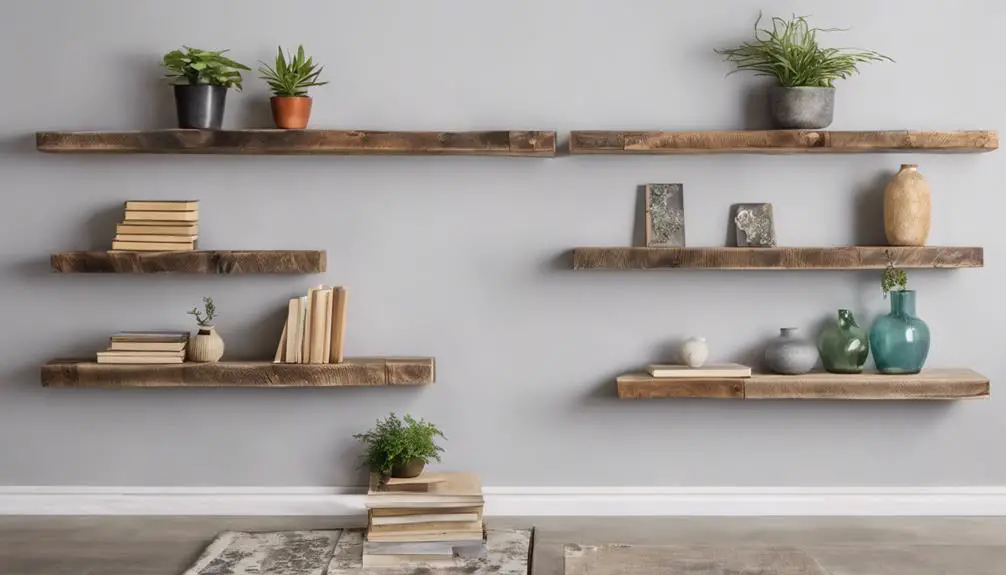
You're about to set out on a DIY project that will elevate your space's style and functionality: building floating shelves. You've got a vision of sleek, modern storage, but where do you start? With so many design options and technical considerations, mastering the fundamentals is crucial from the get-go. From selecting the perfect wood to mastering the art of precision cutting, every step counts. You're on the cusp of creating something truly special – but first, you need to navigate the intricacies of shelf design, assembly, and installation.
Gather Necessary Tools and Materials
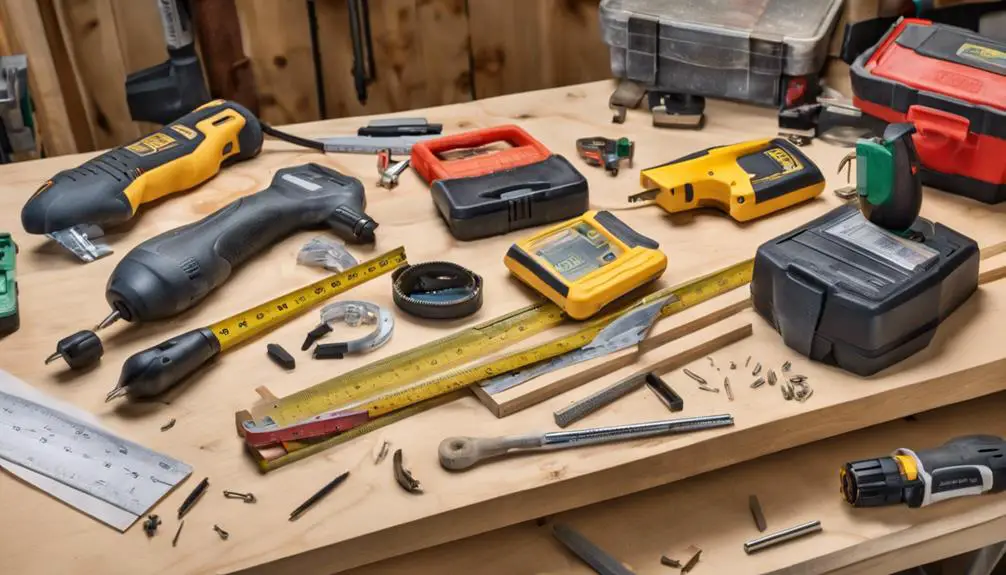
What do you need to get started on your DIY floating shelves project?
To begin, you'll need to prep your tools and source your materials. Tool prep is vital to guarantee a smooth and efficient build process.
You'll need a drill press, a miter saw or circular saw, a sander, a jigsaw, and a level. Additionally, gather essential hand tools like a tape measure, a square, a pencil, and a marker. Don't forget a clamp and safety glasses for protection.
For material sourcing, decide on the type of wood you want to use for your shelves.
Consider factors like durability, aesthetic, and budget. You can opt for solid hardwoods like oak or maple, or engineered woods like plywood or MDF. Make sure to choose materials that match your design goals and are suitable for the weight capacity you need.
Also, source the necessary hardware, such as wall anchors, screws, and shelf pins.
With your tools and materials ready, you'll be set to start building your DIY floating shelves.
Plan Your Shelf Design
You'll need to determine the ideal shelf size based on the space where it'll be installed and the items you plan to display.
Next, choose a shelf style that fits your decor, considering factors like thickness, edge type, and corner design.
Shelf Size Considerations
When designing your floating shelves, the dimensions of each shelf play a crucial role in determining the overall aesthetic and functionality of the final product.
You'll need to ponder the space constraints of the area where the shelves will be installed, taking into account the width, depth, and height of the shelves in relation to the surrounding environment.
This will help you achieve an aesthetic balance that complements the room's décor.
To guarantee a harmonious design, ponder the size and shape of the items you plan to display on the shelves.
For example, if you'll be displaying large decorative vases, you'll need shelves with sufficient depth and width to accommodate them.
On the other hand, if you're planning to store smaller items like books or decorative figurines, narrower shelves might be more suitable.
Shelf Style Options
Now that you've determined the ideal shelf size for your space, it's time to focus on the style of your floating shelves.
You'll want to weigh the aesthetic you're aiming to achieve, as well as the functional requirements of your shelves. Open shelving is a popular choice, as it creates a sense of airiness and makes it easy to display decorative items.
However, if you're looking for a more rustic, industrial vibe, you might ponder a shelf with a solid wood or metal frame.
When it comes to rustic decor, reclaimed wood or distressed finishes can add a touch of warmth and character to your shelves.
You might also ponder adding decorative brackets or corbels to create a more ornate look.
On the other hand, if you're going for a more modern, minimalist aesthetic, you might opt for sleek, low-profile shelves with a simple, clean design.
Whatever style you choose, make sure it aligns with the overall look and feel of your space.
Material Selection Guide
What type of material will best support your design vision and functional needs?
When selecting materials for your DIY floating shelves, it's vital to weigh both aesthetics and performance. You'll want a material that not only looks great but also provides the necessary material strength to hold the weight of your items.
Material durability is also a key factor, as it will impact the shelf's lifespan and maintenance requirements.
For example, solid woods like oak or maple offer excellent strength and durability, making them ideal for heavy loads.
On the other hand, engineered woods like plywood or MDF may be more budget-friendly, but they can be prone to water damage and may not be suitable for high-moisture areas.
Metal materials like aluminum or steel can provide a sleek, modern look and exceptional strength, but they may require additional support structures to prevent sagging.
Finally, ponder the finish and texture of your material, as it will impact the overall appearance of your shelves.
Cut the Shelf Boards
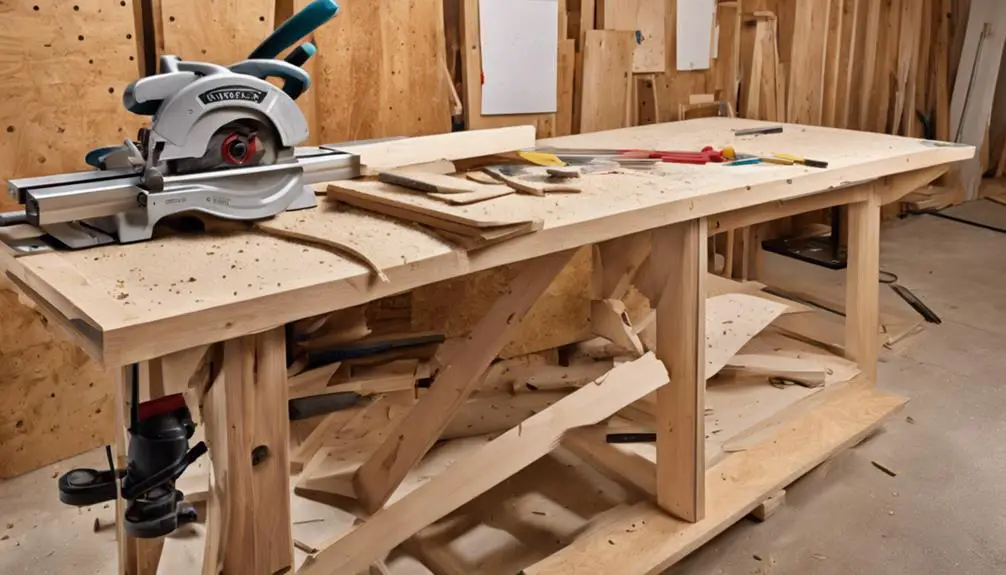
You'll need to cut the shelf boards to the desired length using a saw or a miter saw.
Verify you're working in a well-ventilated area, and wear protective gear, including safety glasses and a dust mask. To avoid cutting mistakes, double-check your measurements before making the cut.
It's vital to measure accurately, as measuring errors can lead to uneven shelves or wasted materials.
Use a straightedge or combination square to guide your saw, guaranteeing a precise cut. If using a miter saw, set the angle to 0° (straight cut) and adjust the length stop to the desired length.
For a circular saw, set the depth to the thickness of the board and use a rip guide or fence to maintain a straight cut.
Cut the boards slowly and steadily, applying gentle pressure. Apply a slight backpressure to prevent the saw from binding or kicking back.
If necessary, use a fine-toothed saw blade to minimize splintering and tear-out. Once cut, inspect the boards for accuracy and make any necessary adjustments before proceeding.
Sand and Finish the Boards
With the shelf boards cut to size, turn your attention to sanding and finishing them to achieve a smooth, professional-looking surface.
Start by sanding the boards using a sequence of grits, beginning with 120 and progressing to 220. This wood preparation process helps remove any imperfections, splinters, or saw marks, ensuring a uniform surface for finishing. Use a random orbital sander or a sanding block to prevent uneven scratches.
Next, apply your chosen finishing technique.
You can use a stain, paint, or a clear coat, depending on the desired aesthetic. If using a stain, apply it according to the manufacturer's instructions, allowing each coat to dry before applying the next. For a clear coat, use a polyurethane or varnish, applying thin, even layers and allowing them to dry between coats. Remember to work in a well-ventilated area, and use a dust mask to avoid inhaling finishing particles.
Assemble the Shelf Frame
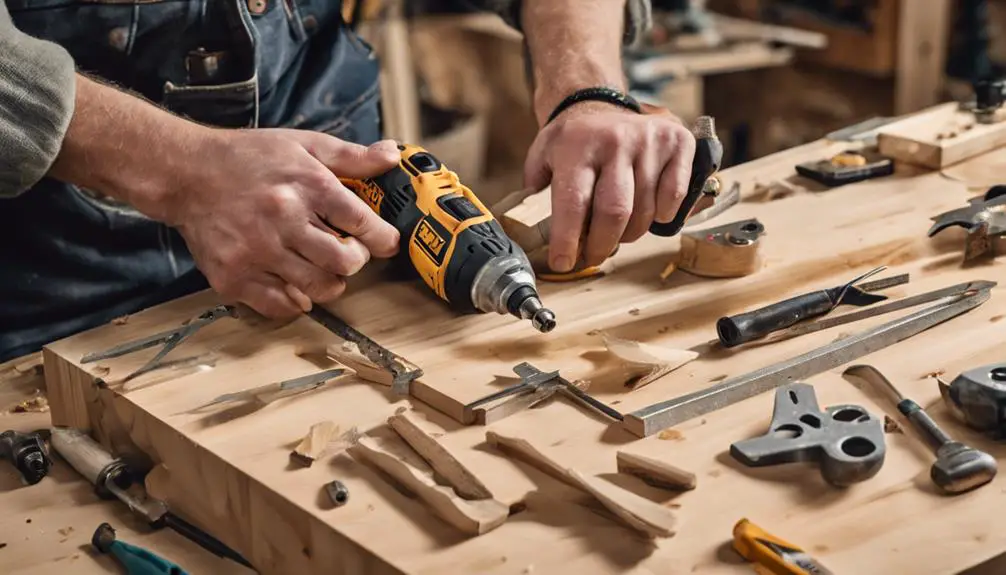
The shelf frame assembly begins by cutting the frame components to size according to your design specifications. Verify accurate measurements to maintain the frame's structural integrity. Use a miter saw or circular saw to make precise cuts.
Next, assemble the frame components using wood glue and 2.5-inch wood screws. Start by attaching the side frames to the top and bottom panels, guaranteeing a flush joint.
Then, attach the back panel to the side frames, creating a rectangular frame design that provides shelf stability. Use clamps to hold the components in place while the glue dries. Make sure the corners are square and the frame is level.
Once the glue has dried, reinforce the frame by adding screws to the joints. This will provide additional strength and prevent the frame from warping or sagging. A sturdy frame is vital for supporting the weight of the shelf and its contents.
With a well-assembled frame, you'll be ready to move on to the next step: attaching the shelf to the wall.
Attach the Shelf to Wall
Accurate measurement and a sturdy frame guarantee the shelf's stability, and now it's time to secure it to the wall.
To do this, you'll need to locate the wall studs behind your drywall. Use a stud finder or knock gently on the wall to detect the studs. Once you've found them, mark their locations with a pencil.
Hold the shelf against the wall, ensuring it's level and aligned with the marks you made.
Use a carpenter's level to double-check the shelf's alignment. If necessary, adjust the shelf's position to achieve perfect horizontal alignment.
Drill pilot holes into the wall studs through the shelf's mounting holes.
Then, screw the shelf into place using wall anchors or screws designed for your wall type.
Make sure they're securely fastened to support the weight of your shelf and its contents.
With the shelf attached, you can now add your decorative items, confident that your DIY floating shelf is stable and secure.
Add Decorative Trim Options
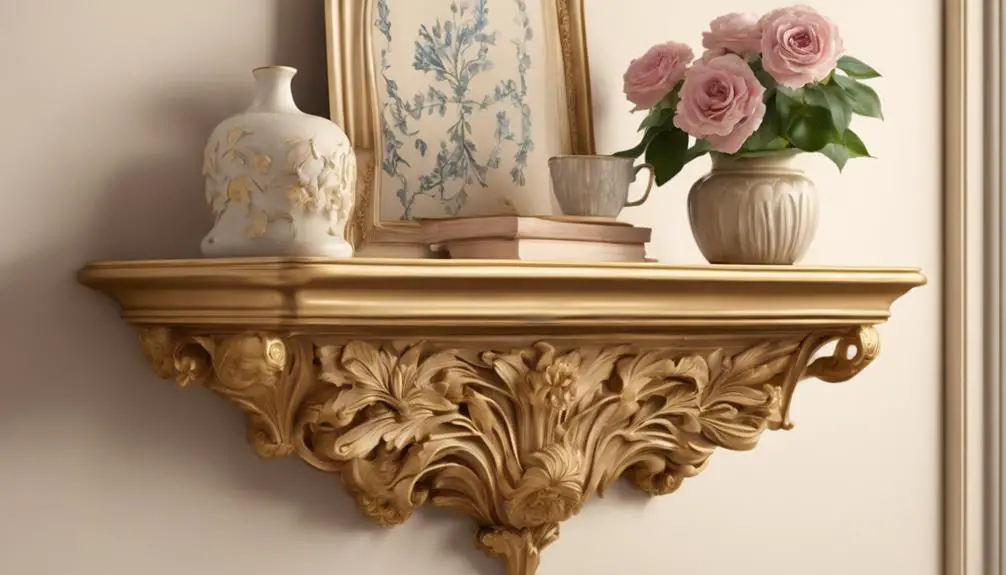
You'll now have the opportunity to personalize your floating shelves with decorative trim options.
You can choose from various trim style options, such as flat, rounded, or ornate, to match your desired aesthetic.
Additionally, consider edge decor ideas, like routed edges or beveled edges, and patterned trim accents, like herringbone or chevron, to further customize your shelves.
Trim Style Options
With your floating shelves' structural integrity in place, it's time to focus on aesthetics.
You'll want to choose a trim style that complements your shelves' design and the surrounding decor. When selecting a trim profile, consider the shelf's thickness, the surrounding walls, and the overall style you're aiming for.
You can opt for a simple, flat trim or a more ornate, rounded profile.
For a seamless look, use mitered corners to connect the trim pieces.
This involves cutting the trim at a 45-degree angle to create a flush joint. You can use a miter saw or a coping saw to make precise cuts.
If you're not comfortable with mitered corners, you can use a butt joint instead, where the trim pieces meet at a 90-degree angle.
Remember to measure carefully and mark the trim pieces accurately to guarantee a precise fit.
You may also want to add a decorative cap or a reveal to enhance the trim's visual appeal.
With the right trim style, you'll add a touch of sophistication to your DIY floating shelves.
Edge Decor Ideas
Beyond the trim profile, the edges of your floating shelves offer another opportunity to add visual interest.
You can create a cohesive look by matching the edge decor to your trim style or contrast it for a unique floating decor effect. Shelf accents like routed edges, chamfers, or bevels can add a touch of sophistication.
Routed edges, for instance, can be designed to resemble a decorative molding, while chamfers create a subtle, angled edge. Bevels, on the other hand, add a sleek, modern touch.
You can also experiment with inlays or inserts, which involve adding a contrasting material, such as wood or metal, to the edge of the shelf. This technique can create a striking visual contrast and add depth to your floating decor.
When selecting an edge decor idea, consider the overall aesthetic you want to achieve and the style of your room. With a little creativity, the edges of your floating shelves can become a design focal point.
Patterned Trim Accents
To further enhance the visual appeal of your floating shelves, consider adding patterned trim accents. These decorative elements can elevate your DIY project from simple to stunning.
When it comes to trim placement, you have several options. You can add trim to the front edge of the shelf, creating a striking horizontal line.
Alternatively, you can attach trim to the sides of the shelf, creating a cohesive look with the surrounding walls.
For a more subtle approach, add trim to the underside of the shelf, creating a hidden accent that's still visually appealing.
For accent inspiration, look to interior design trends and architectural styles.
Geometric patterns, such as chevrons or herringbone, can add a modern touch.
Floral or botanical patterns can bring a touch of elegance.
You can also experiment with contrasting colors or textures to create a unique look.
When selecting a trim pattern, consider the overall aesthetic you want to achieve and the style of your surrounding decor.
Installing the Floating Shelf
You've reached the most critical stage of the DIY floating shelves project: installing the floating shelf. This is where precision and attention to detail are vital to guarantee a sturdy and level shelf.
Start by locating the wall studs using a stud finder, as they'll provide the necessary support for your shelf. Mark the stud locations with a pencil, taking care to note any shelf stability concerns, such as uneven walls or weak points.
Next, prepare your wall by cleaning it thoroughly and applying a level to verify it's straight.
If necessary, fill any gaps or holes with spackling compound and sand smooth.
Now, hold the shelf against the wall, aligning it with the marks you made earlier. Use a level to double-check the shelf's position, making adjustments as needed.
Finally, drill pilot holes and screw the shelf into the wall studs, using wall anchors if necessary.
Remember to follow wall preparation tips, such as using the correct type of screw for your wall material, to guarantee a secure hold.
Add Supports for Heavy Items

Two crucial considerations for adding supports for heavy items are the weight capacity of your shelf and the type of items you plan to display.
You'll need to determine the maximum weight your shelf can hold and guarantee it can support the weight of the items you want to display. For instance, if you're planning to display heavy decorative vases or large books, you'll need to add extra supports to prevent the shelf from sagging or collapsing.
To add supports, you can install hidden brackets underneath the shelf. These brackets will provide additional strength and stability, allowing you to display heavier items with confidence.
Additionally, consider reinforcing the corners of your shelf with metal or wooden brackets. This will help distribute the weight of the items more evenly, reducing the risk of the shelf collapsing.
When selecting supports, choose materials that complement your shelf's design and style. For example, if you have a wooden shelf, opt for wooden brackets or metal brackets with a wooden finish.
Choose the Right Wall Anchors
You'll need to select wall anchors that match your wall type, as it's the most critical factor in ensuring your floating shelves can hold the desired weight.
For hollow walls, you'll require anchors that spread the weight across the drywall, such as mollies or toggle bolts. If you're planning to display heavy items, look for anchors with a high load capacity, typically measured in pounds per anchor.
Wall Type Matters Most
Since the type of wall you're working with plays a pivotal role in determining the right wall anchors for your DIY floating shelves, identifying your wall type beforehand is paramount before making a purchase.
You'll need to perform a wall inspection to determine whether you have a solid, hollow, or plaster wall. This will influence the type of anchor you choose and the wall preparation required.
For instance, solid walls can support heavier loads and require fewer anchors, while hollow walls need specialized anchors that spread the weight across the drywall. Plaster walls, on the other hand, require extra care to avoid damaging the surface.
Proper wall preparation is essential, including cleaning the area, removing any old adhesives, and verifying the surface is level and even.
Anchors for Hollow Walls
Behind hollow walls lies a web of drywall and air pockets, making it challenging to find a secure anchor point for your DIY floating shelves.
You'll need to choose the right wall anchor type to guarantee your shelves stay put. For hollow walls, you'll want to opt for anchors that spread the weight across a larger area or anchor into a stud.
One popular hollow wall solution is the toggle bolt, which features a spring-loaded mechanism that expands when screwed into place, providing a secure hold.
Another option is the molly bolt, which has a pointed end that expands when tightened, creating a strong anchor point.
You can also use anchors with a hollow-wall adapter, which distributes the weight across a larger area.
When selecting wall anchors, consider the weight capacity, material, and type of wall you're working with.
Heavy Load Capacity
When selecting wall anchors for your DIY floating shelves, heavy load capacity is a critical consideration.
You'll need to choose anchors that can support the weight of your shelves and the items you plan to display. Load limits vary substantially between anchor types, so selecting the right one for your project is crucial.
For heavy-duty applications, consider using anchors with high weight capacity, such as toggle bolts or molly bolts.
These anchors can support loads of up to 50 pounds or more per anchor, making them ideal for large or heavily loaded shelves.
Hollow-wall anchors, on the other hand, have lower load limits and are better suited for lighter applications.
Make sure to check the manufacturer's specifications for the recommended weight capacity of each anchor type.
Don't exceed the recommended load limits, as this can lead to anchor failure and damage to your walls or shelves.
Measure and Mark the Wall
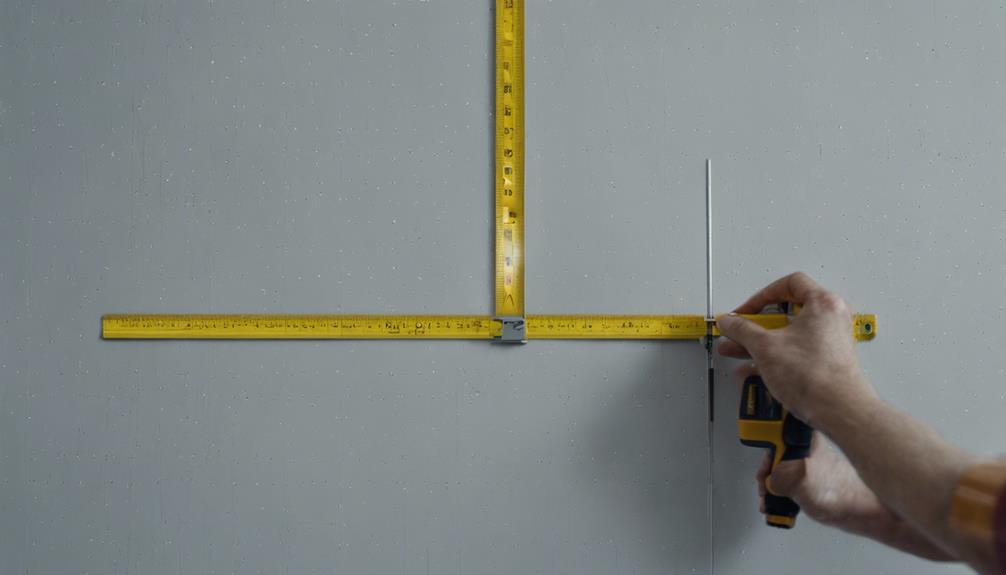
You'll need to take precise measurements of the wall where you plan to install your floating shelves. This step is vital in guaranteeing your shelves are level and securely attached to the wall.
Start by identifying the wall studs using a stud finder or by knocking gently on the wall to locate the solid areas. Mark the spot where you want to install the shelf, then measure the distance from the floor to the mark.
Take note of any electrical outlets, windows, or other obstacles that may affect the shelf's placement.
Next, measure the width of the wall to determine the best placement for your shelf.
You'll want to avoid areas with weak or damaged drywall, as this can lead to measuring mistakes and a poorly installed shelf. Use a level to guarantee your marks are straight and level, and double-check your measurements to avoid errors.
Accurate measurements will save you time and headaches in the long run, so take your time and get it right.
Troubleshooting Common Issues
Common pitfalls can arise even with meticulous planning and execution.
One of the most critical issues you'll face is shelf alignment. If your shelves aren't perfectly level or plumb, they'll look amateurish and compromise the overall aesthetic.
To avoid this, double-check your measurements and use a spirit level to guarantee the shelf is straight. You can also use a laser level to project a level line onto the wall, making it easier to align the shelf.
Another issue you might encounter is wall damage. When installing the floating shelf brackets, it's easy to accidentally drill into a pipe or electrical wire, causing costly repairs.
To prevent this, use a stud finder to locate the wall studs and avoid drilling into them. Additionally, always turn off the power to the outlets and lights before starting the project.
If you do encounter wall damage, act quickly to minimize the damage. Turn off the main water supply if you've hit a pipe, and call a professional if you're unsure how to proceed.
Frequently Asked Questions
Can I Use MDF Boards for My Floating Shelves?
You can use MDF boards, but consider their durability concerns; they're prone to water damage and may not hold heavy loads. If you're looking for alternatives, explore plywood or solid wood for added strength and stability in your project.
How Do I Clean and Maintain My Floating Shelves?
To keep your shelves pristine, you'll want to prevent dust buildup by regularly wiping them down with a damp cloth and implementing shelf liners that make cleaning a breeze, ensuring your space stays organized and stylish.
Are Floating Shelves Suitable for Holding Heavy Objects?
When considering a shelving solution, you'll want to certify it can handle the weight; check the load capacity and weight limits to guarantee your chosen shelves can support the heavy objects you plan to display, avoiding any potential structural compromise.
Can I Paint My Floating Shelves a Dark Color?
When choosing a dark color for your project, you'll achieve a sophisticated dark accent and rich finish by selecting a paint with high pigment load and applying a primer to guarantee maximum color saturation and durability.
Do I Need to Add a Back Panel to My Floating Shelves?
When building a shelf, you'll want to ponder adding a back panel to guarantee shelf stability and wall protection, as it prevents items from falling off and scratches on the wall, ultimately enhancing the overall structural integrity.
Conclusion
You've successfully built your DIY floating shelves, adding a touch of elegance to your space. Verify they're securely fastened to the wall studs using the right anchors and screws. Double-check the shelf's levelness and make any necessary adjustments. Finally, add your decorative trim and edge decor, and fill your new shelves with your favorite items.
