Is It Cheaper to Do Drywall Yourself? Yes, it can be cheaper to install your own drywall. You can expect to save quite a bit of money on drywall if you do it yourself. The first thing you will save money on is the money you would have to pay the people installing the drywall. The labor is one of the most expensive things involved. The average cost of installing drywall is between $1.50-$3.00 per square foot. This works out to be about $60-90 per drywall panel. When you choose to DIY it yourself you will have a good chunk of money as you will just need to buy the materials.
Looking to save cash on your home renovation? Wondering if it’s cheaper to do drywall yourself? The answer is a resounding yes! By taking on the task, you’ll cut down on expenses and save on labor costs.
While there may be a learning curve, once you get the hang of it, the process becomes quick and straightforward. With practice and the right tools, you’ll efficiently transform your space.
Embark on this DIY adventure and enjoy a beautifully finished space while keeping your wallet happy.
Key Takeaways
- Doing drywall yourself can save significant money compared to hiring a professional.
- Learning proper drywall techniques can provide valuable knowledge and experience in home improvement.
- Proper drywall preparation is crucial for a successful installation and a better finish.
- Following safety precautions is essential to protect yourself and avoid accidents during the installation process.
What are The Benefits of Doing Drywall Yourself?
By doing the drywall yourself, you can gain valuable knowledge and experience in home improvement. Learning the proper drywall techniques will allow you to tackle other projects with confidence. While it may take some time to master the process, the sense of accomplishment and satisfaction from completing the task on your own is worth it.
Additionally, by taking on the project yourself, you can save a significant amount of money compared to hiring a professional. The cost of materials is relatively low, and with the right tools and techniques, you can achieve professional results.
It’s important to note that installing drywall does require a time commitment, but the skills and experience you gain will last a lifetime. So why not take the opportunity to learn something new and enhance your DIY skills while saving money in the process?
What Kind of Cost Savings Can You Expect From Doing Drywall Yourself?
Save yourself both time and money by doing the drywall installation yourself. One of the biggest cost savings comes from not having to pay for labor, which can be a significant portion of the overall project cost. While there’s a learning curve involved, once you become familiar with the process, you’ll find that the installation can be completed fairly quickly.
Additionally, doing it yourself allows for greater quality control. You have the ability to ensure that the drywall is installed correctly and meets your standards. Of course, there’s always the potential for mistakes, but with proper attention and care, you can minimize these errors.
Another consideration is the cost of renting tools. By doing the installation yourself, you can avoid the expense of renting tools or equipment.
Lastly, it’s important to remember the value of proper safety measures. Be sure to take the necessary precautions to keep yourself safe during the installation process.
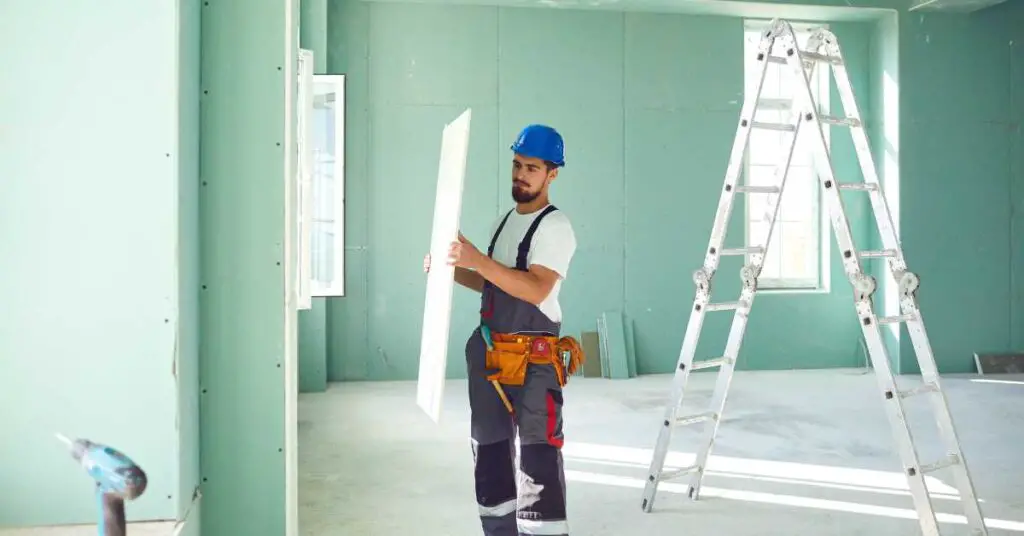
What Supplies Do You Need for Drywall Installation?
To complete a drywall installation, you’ll need a variety of supplies. Here are four essential items you’ll need to have on hand:
- Preparing Tools: Before you begin hanging drywall, you’ll need a few tools to prepare the area. These may include a utility knife for scoring and cutting the drywall, a hammer or screwdriver for removing any existing nails or screws, and a tape measure to ensure accurate measurements.
- Measuring Process: Accurate measurements are crucial for a successful drywall installation. A good quality tape measure will help you measure the dimensions of the walls and ceilings, ensuring that you cut the drywall to the correct size.
- Cutting Techniques: Cutting drywall can be a bit tricky, but with the right technique, it becomes easier. A key tool for this process is a drywall square or T-square, which will help you create straight and accurate cuts. Additionally, a drywall saw or rotary tool with a cutting bit will be necessary for more intricate cuts around outlets or corners.
- Hanging Drywall: To hang the drywall, you’ll need a few tools, such as a drill or screw gun to secure the drywall to the studs, as well as drywall screws for fastening. A drywall lift can also be helpful, especially if you’re working alone or on a larger project.

Preparing the Room for Drywall Installation
Before you begin installing drywall, it’s important to properly prepare the room. Drywall preparation involves a few key steps to ensure a successful installation.
Firstly, you need to plan and lay out the room. Consider the dimensions and shape of the walls to determine the amount of drywall you’ll need. Additionally, take into account any obstacles such as windows, doors, or outlets that may require special attention during installation.
Next, assess the need for wall insulation. Insulating the walls can help improve energy efficiency and soundproofing. Depending on your climate and personal preferences, you can choose from various insulation materials such as fiberglass or foam panels.
In addition to insulation, consider the installation of moisture barriers. These barriers prevent moisture from seeping into the drywall, which can cause damage over time. Moisture barriers are particularly important in areas like bathrooms, kitchens, or basements where humidity levels are higher.
Lastly, evaluate the location of electrical wiring in the room. Ensure that any electrical outlets or switches are properly installed and in compliance with safety regulations. It’s essential to take precautions when working around electrical components to prevent any accidents or damage.
Proper drywall preparation sets the foundation for a smooth installation process. By taking the time to plan, insulate, install moisture barriers, and address electrical wiring, you can ensure a successful and long-lasting drywall installation.
Installing the Drywall
Once you’ve completed the drywall preparation, it’s time to install your own drywall. Here are some key steps to guide you through the process:
- Measuring Techniques: Before you start, ensure you have accurate measurements of the area where you’ll be installing the drywall. Measure twice to avoid wastage and ensure a precise fit.
- Choosing the Right Drywall: Select the appropriate type and thickness of drywall based on the specific needs of your project. Consider factors like moisture resistance, fire rating, and soundproofing qualities.
- Drywall Installation Tools: Gather the necessary tools, including a drywall lift, a cordless drill with a screwdriver bit, a utility knife, a T-square, and a drywall saw. These tools will make the installation process smoother and more efficient.
- Taping and Mudding: After securing the drywall sheets to the studs, apply joint tape to the seams and cover them with joint compound. Use a trowel to smooth out the compound, creating a seamless finish.
Remember to follow proper sanding techniques to achieve a smooth and even surface. With careful attention to detail and practice, you can successfully install your own drywall and achieve professional-looking results.
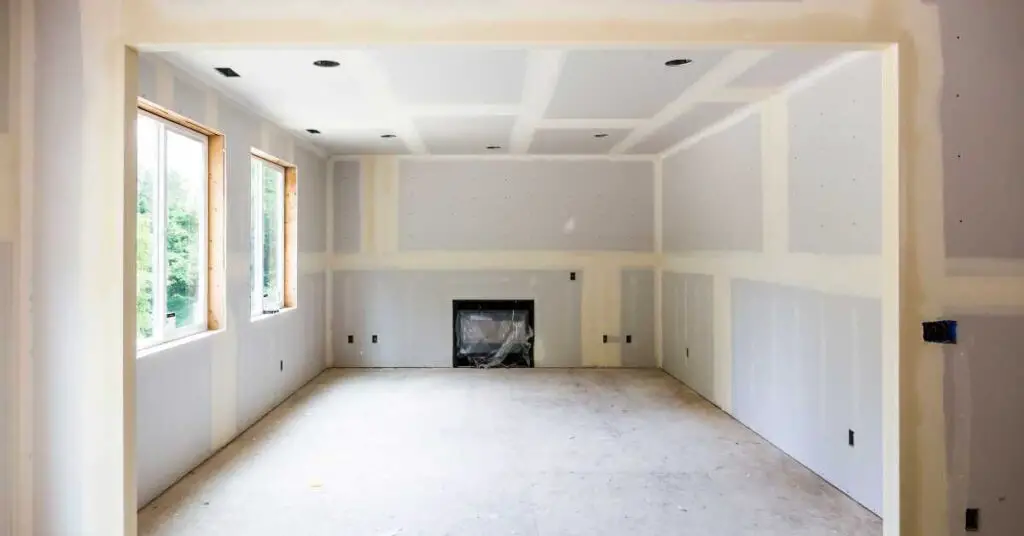
Finishing the Drywall
After you have completed the installation of the drywall, now is the time to sand and prime the surface for a smooth and finished look. When it comes to finishing the drywall, there are several techniques and methods that you can use to achieve the desired results.
One important step is drywall taping, which involves applying tape to the seams between the drywall panels to create a seamless appearance. This can be done using either paper tape or self-adhesive mesh tape.
Once the taping is complete, it’s time to sand the surface to remove any imperfections and create a smooth finish. Remember to use a fine-grit sandpaper and work in small, circular motions for the best results.
After sanding, you can choose from a variety of texture options to add visual interest to your walls. From smooth finishes to textured patterns, the choice is yours.
Finally, it’s time to choose the paint for your drywall. Consider factors such as the color, sheen, and durability when making your selection.
Tips for Doing Drywall Yourself
Are you wondering if it’s possible to save money by doing drywall yourself, but need some tips to get started?
Here are four essential tips to help you with your DIY drywall project:
- Gather the necessary tools: Before you begin, make sure you have all the drywall tools you’ll need, such as a utility knife, taping knife, drywall saw, and a screw gun. Having the right tools will make the job easier and more efficient.
- Prepare the area: Proper drywall preparation is crucial for a successful installation. Remove any existing wall coverings, such as wallpaper or old drywall, and ensure the surface is clean and smooth. It’s also important to measure and cut the drywall sheets accurately to fit the space.
- Learn drywall techniques: Familiarize yourself with basic drywall techniques, such as taping and mudding. These skills will help you achieve a seamless finish. Take the time to practice these techniques before starting on your actual project.
- Take safety precautions: Safety should always be a priority. Wear protective gear, such as goggles and a mask, to protect yourself from dust and debris. Be cautious when using power tools and ladders to avoid accidents.
Troubleshooting Common Drywall Issues
If you encounter any common drywall issues, such as cracks or bulges, you can easily troubleshoot and fix them yourself. When it comes to repairing cracks, start by widening the crack slightly with a utility knife and then filling it with joint compound. Smooth it out with a drywall knife and let it dry before applying a second coat if necessary.
Dealing with uneven surfaces can be challenging, but you can use a sanding block or a pole sander to level out the high spots. For fixing popped nails, simply drive them back into the studs and cover them with joint compound. Blending joint compound is essential for seamless repairs. Use a wide knife to feather the compound outwards to create a smooth transition.
Frequently Asked Questions
Can I Install Drywall by Myself if I Have No Prior Experience?
Yes, you can install drywall yourself even without prior experience. It may take some time to learn, but with DIY drywall tips and techniques, you can save on labor costs and complete the installation at your own pace.
How Long Does It Typically Take to Install Drywall in a Standard-Sized Room?
Installing drywall in a standard-sized room typically takes about 1-2 days. It’s important to have the right tools, follow DIY drywall tips, and avoid common mistakes. Finish with DIY drywall techniques for a professional look.
Are There Any Specific Tools or Equipment I Need to Purchase for DIY Drywall Installation?
To do drywall yourself, you’ll need essential tools like a utility knife, taping knife, and drywall screw gun. It’s cheaper than hiring professionals, but there’s a learning curve. With practice and time-saving techniques, you’ll save money and achieve good results.
What Are Some Common Mistakes to Avoid When Installing Drywall?
When installing drywall yourself, it’s important to avoid common mistakes like uneven seams, improper screw placement, and insufficient joint compound. Follow best practices, use proper tools, and consult a step-by-step guide to ensure success.
Is It Necessary to Hire a Professional for Finishing and Sanding the Drywall, or Can I Do It Myself?
Yes, you can definitely do the finishing and sanding of the drywall yourself. It’s a DIY project that can save you money. Here are some tips and a step-by-step guide to achieve professional-looking results at home.
Conclusion
In conclusion, taking on the task of installing drywall yourself can provide significant cost savings for your home renovation project. By eliminating the need for professional labor, you can keep more money in your pocket.
While there may be a learning curve involved, with practice and the right tools, the process can become efficient and straightforward.
So why not dive into this DIY adventure and enjoy the satisfaction of transforming your space while saving money?